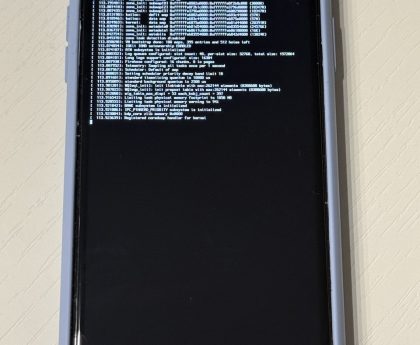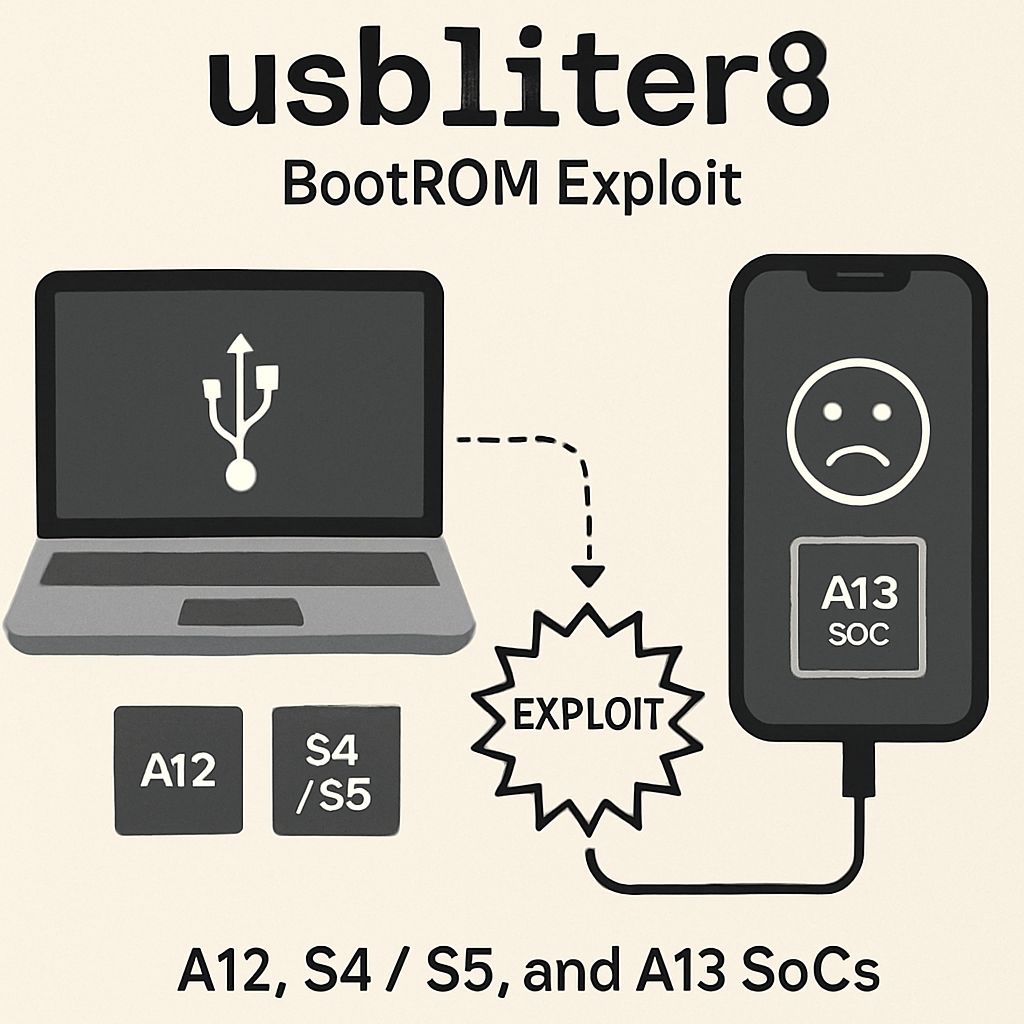
If you have successfully exploited your A12 iPhone XR with the USBLiter8 BootROM exploit, the next step is to boot a custom SSH ramdisk. An SSH ramdisk provides root shell access to the device before iOS boots, allowing you to perform research, inspect the file system, dump files, or run recovery tools.
This guide demonstrates how to boot an SSH ramdisk on an iPhone XR (A12) using USBLiter8, libirecovery, and a Raspberry Pi Pico 2.
Target
- Device: iPhone XR
- Board Configuration: n841ap
- Chip: Apple A12 Bionic
- Boot Flow: Pwned DFU → iBSS → Recovery → SSH Ramdisk
Hardware
- Raspberry Pi Pico 2 (RP2350) running the USBLiter8 firmware
- iPhone XR (A12) in Pwned DFU mode
- USB-A to Lightning cable
- Mac running macOS
Dependencies
- python3 pyusb libirecovery libimobiledevice usbmuxd iproxy idevice_id sshpass OpenSSH client
Step 1: Install the required Tools
Install all required utilities using Homebrew:
brew install libirecovery libimobiledevice usbmuxd sshpass git-lfs
Install the Python dependency:
python3 -m pip install pyusb
These tools are used to communicate with the device during every stage of the boot process.
Step 2 – Exploit the Device Using USBLiter8
Before an SSH ramdisk can be loaded, the device must already be in Pwned DFU mode. Use the Raspberry Pi Pico 2 running the USBLiter8 firmware to exploit the device. If you have not completed this step yet, follow the previous guide explaining how to install usbliter8, prepare the Pico 2 hardware and exploit A12/A13 devices.
Once the exploit has completed successfully, verify the device state:
irecovery -q
The output should contain PWND: usbliter8
This confirms the device is running in Pwned DFU mode and is ready to accept custom boot components.
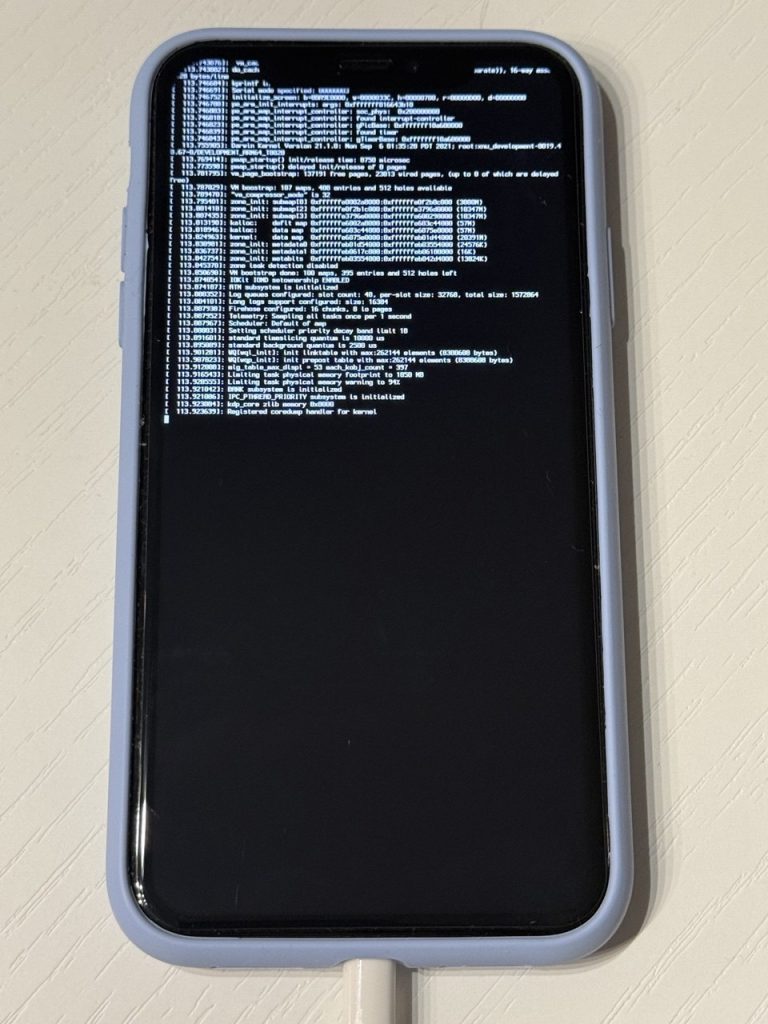
Step 3 – Boot iPhone XR SSH Ramdisk
Clone the github repo and make the required scripts executable:
git lfs install
git clone https://github.com/hsbugss/usbliter8-xr-ramdisk.git
cd usbliter8-xr-ramdisk
git lfs pull
chmod +x exploit.sh
chmod +x ssh_connect.sh
chmod +x tools/usbliter8ctl
Then start the boot process:
./exploit.sh
The script automatically performs the complete boot sequence, including:
- Uploading the patched iBSS
- Booting into Recovery mode
- Sending the DeviceTree
- Uploading the ramdisk image
- Uploading the kernelcache
- Sending the TrustCache
- Booting the custom SSH ramdisk
During the process, the terminal will display detailed progress messages for each stage. Depending on your Mac and USB connection, the complete process usually takes less than one minute.
Step 4 – Connect to the SSH Ramdisk
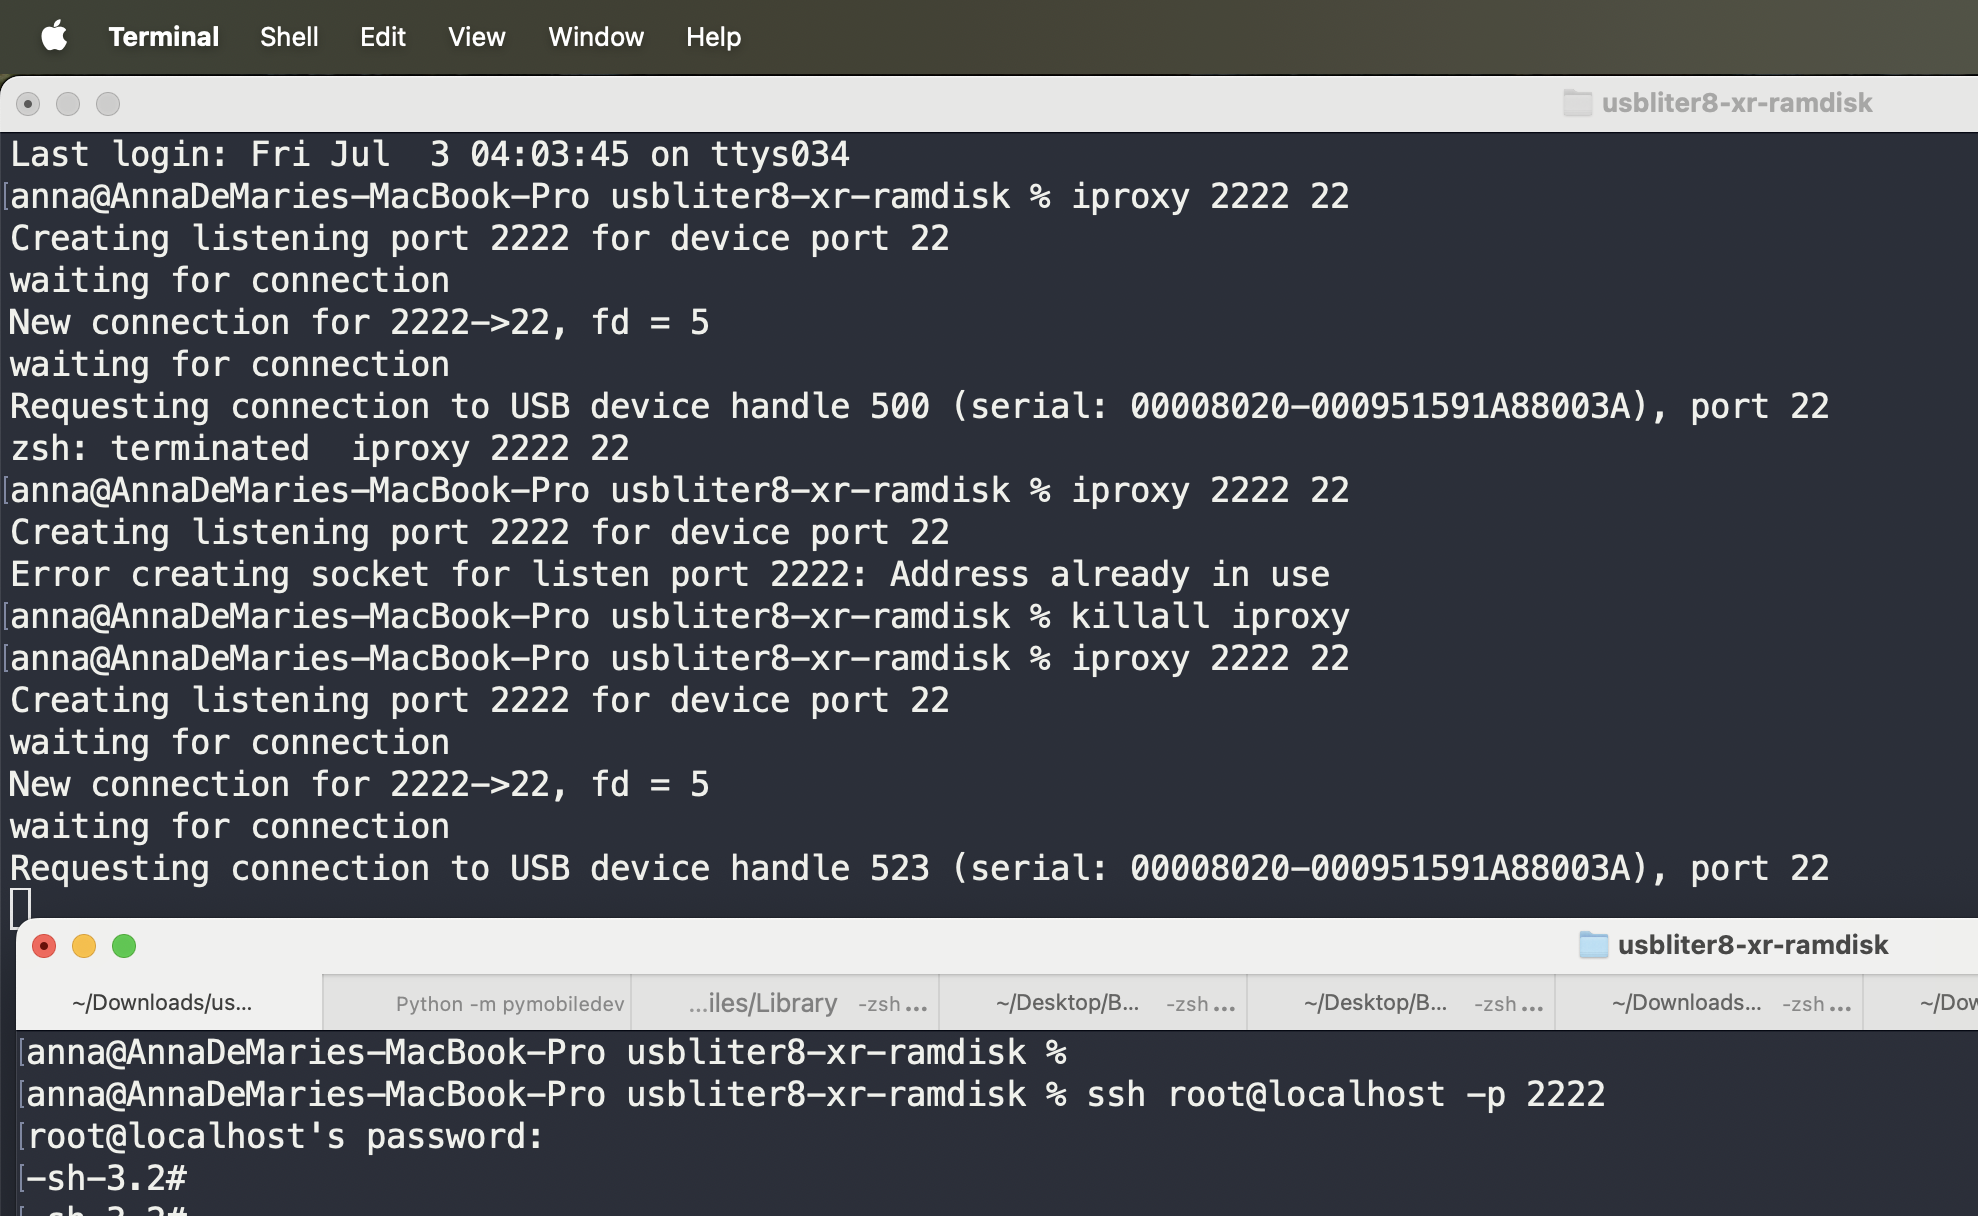
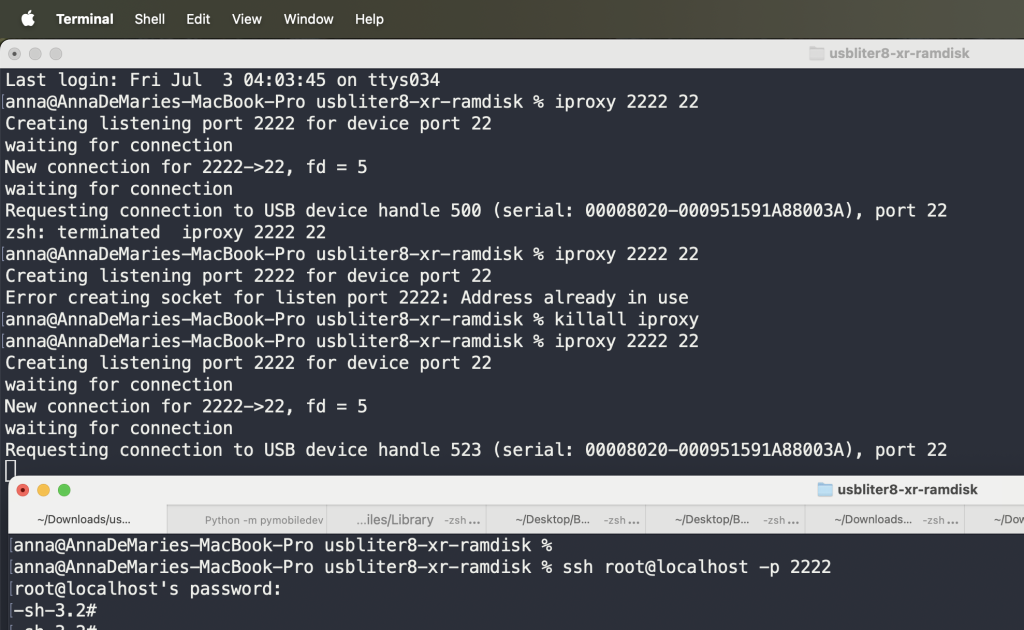
After the ramdisk has finished booting, forward the SSH port from the device:
iproxy 2222 22
Now open new terminal tab and ssh into device
ssh root@localhost -p 2222
Password is: alpine
Once connected, you will have a root shell running directly from the ramdisk.


Note: This SSH ramdisk is based on the iOS 15.1 Restore Ramdisk. When booted on devices running newer versions of iOS, some APFS volumes may not mount successfully because of changes to the Secure Enclave Processor (SEP) firmware and APFS compatibility between iOS releases. As a result, certain encrypted volumes may remain inaccessible, while others can still be mounted normally.